Here are a few pics and infos about the headphone amps i've built. It's where it all got started, my DIY bug. Proves damn well anybody can do stuff. I've no experience in electronics. Well, before the first project i didn't. Theory or practice-wise. Zero. Nada. Zilch.
What's needed is some documenting and time. And a lot of patience. Loads and loads of it.
Anyways, so there i was, looking for something suitable to amplify the headdies of my iPod, a pair of Sony's they were. HeadWize is the place to be when looking for headphone DIY. Everybody's nice too. The CMoy seemed the best of all worlds : accessible for newbies in electronics, and good result for minimal cost. So i printed the parts list and went to the local "el cheapo electronics" store. I was going to mail-order better parts for better amps if this one turned out good. A proto-type of sorts it was going to be. The first one, i decided to play it sure ; i used the tutorial done by Tangent, and followed it *exactly* as written. It worked. Immediately. And gave results, too. Wow. I was amazed. Here i had this miserable looking result done in a day by myself with miserable low-cost parts, and it sang. What's more, having had done it, and by studying the schema, i now knew the signal path, and started to understand (little by little) how it worked. This meant i could do another design and not be too lost between the resistors.
I spare you the visuals of my first attempt (don't have any pics).
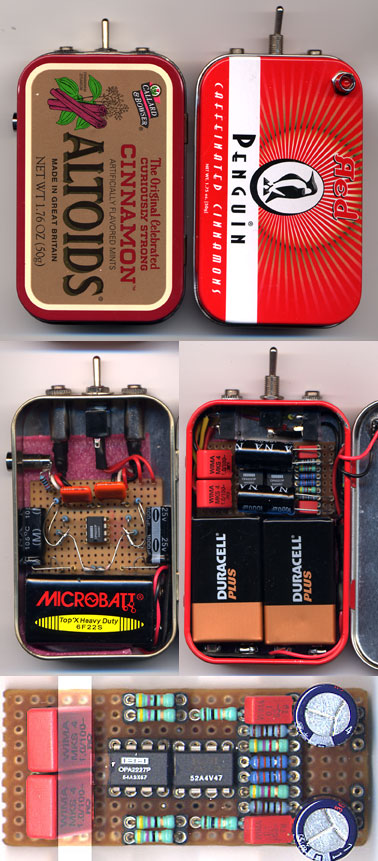
I was fascinated by the clean looking designs of Sijosae, and decided to use one of his as a basis for my second CMoy. So i drew the plans and was ready to go. This is how it turned out (click on it for a bigger one) :
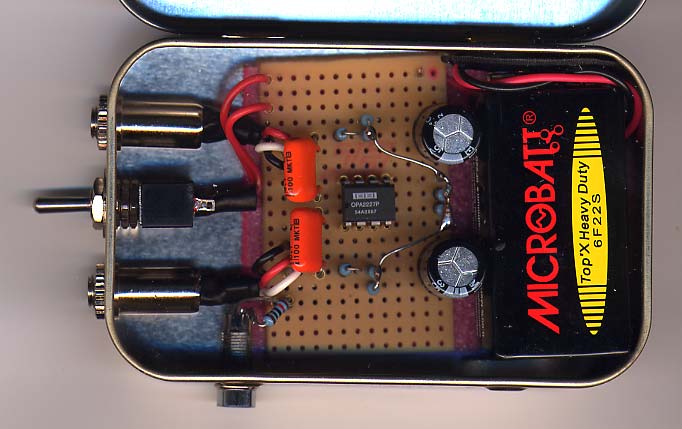
Nice and clean. Here's the underside :
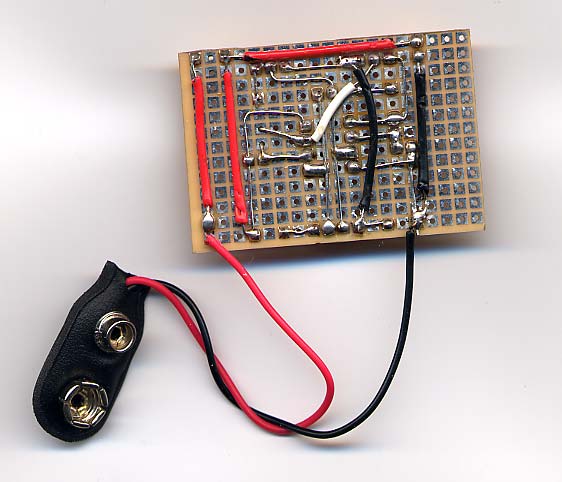
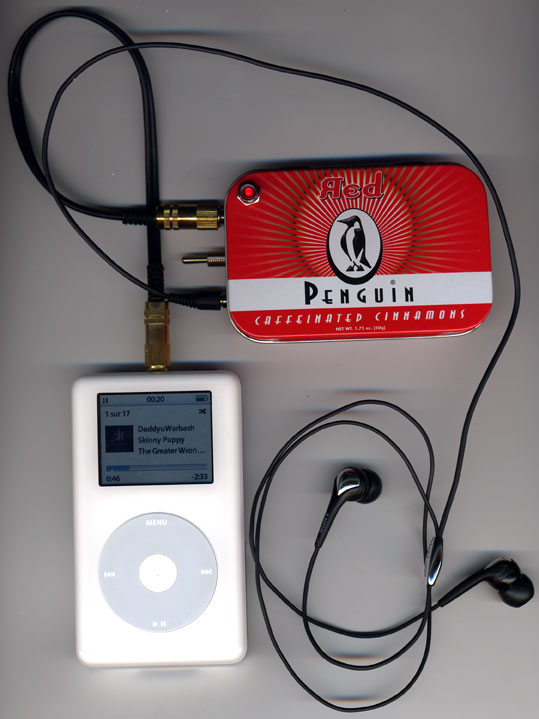
But i found it to lack some bass (i had used 470uF caps), and wished that there was a way to adjust the gain without desoldering and resoldering again everytime. I started to get into socketing everything. This would allow for swapping the caps and the gain resistance whenever it pleased me and save me a lot of headaches. Later on i modified the second CMoy and socketed everything, you'll see a pic of it in the end. In the meantime, here's the final result housed :
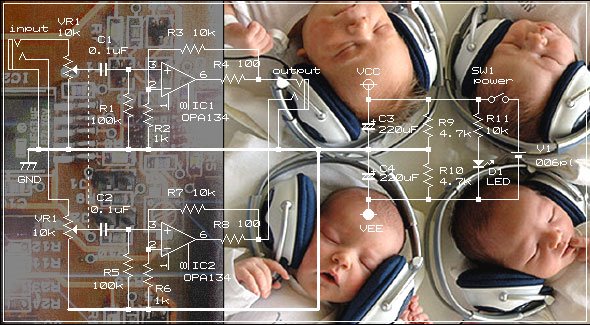
Once i had gotten the CMoy how i wanted it, i wished to go a little further. I decided for A47. This time i went directly for the Sijosae design, with a few modifications for my needs. Everything socketed. Here's the result :

And here it is housed :
And the sound in all that ? Very nice, full and round, with deep & punchy basses. The sound is more "airy", less uni-dimensional. But i must say that since i burned my Sony's and bought a pair of Koss PortaPro's, i find less benefit from these amps. The difference is not so enormous anymore. It's still there, sure...it just isn't as obvious as it was with the Sony's. It isn't "Wow" anymore, it's more like "hmm...ah...yes...yes indeed".
We'll see with the next one :)
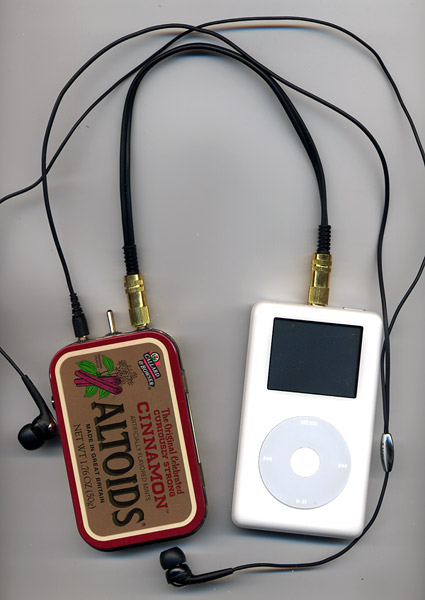
Here's the last pic with them two in comparaison, and on this one you can see the modified CMoy how it is today, socketed and with the 1000uF caps and all. Loads of fun, these little projects...
Merci DIY :)
Great work Sebastian. I wonder if "Kyynelpuisto" rings a bell?
ReplyDelete